How to create your custom Node.js REPL
- Published at
- Updated at
- Reading time
- 1min
Today I came across a quick video which explains Node.js' REPL functionality (Read-Eval-Print loop).
While I use the built-in REPL from time to time (type node into your terminal to start it) to prototype code, I haven't used the REPL module before. It turns out that you can create custom REPLs with just a few lines of JavaScript:
// index.js
const repl = require('repl');
// define available methods and state
const state = {
printSomething() {
console.log("That's awesome!");
}
};
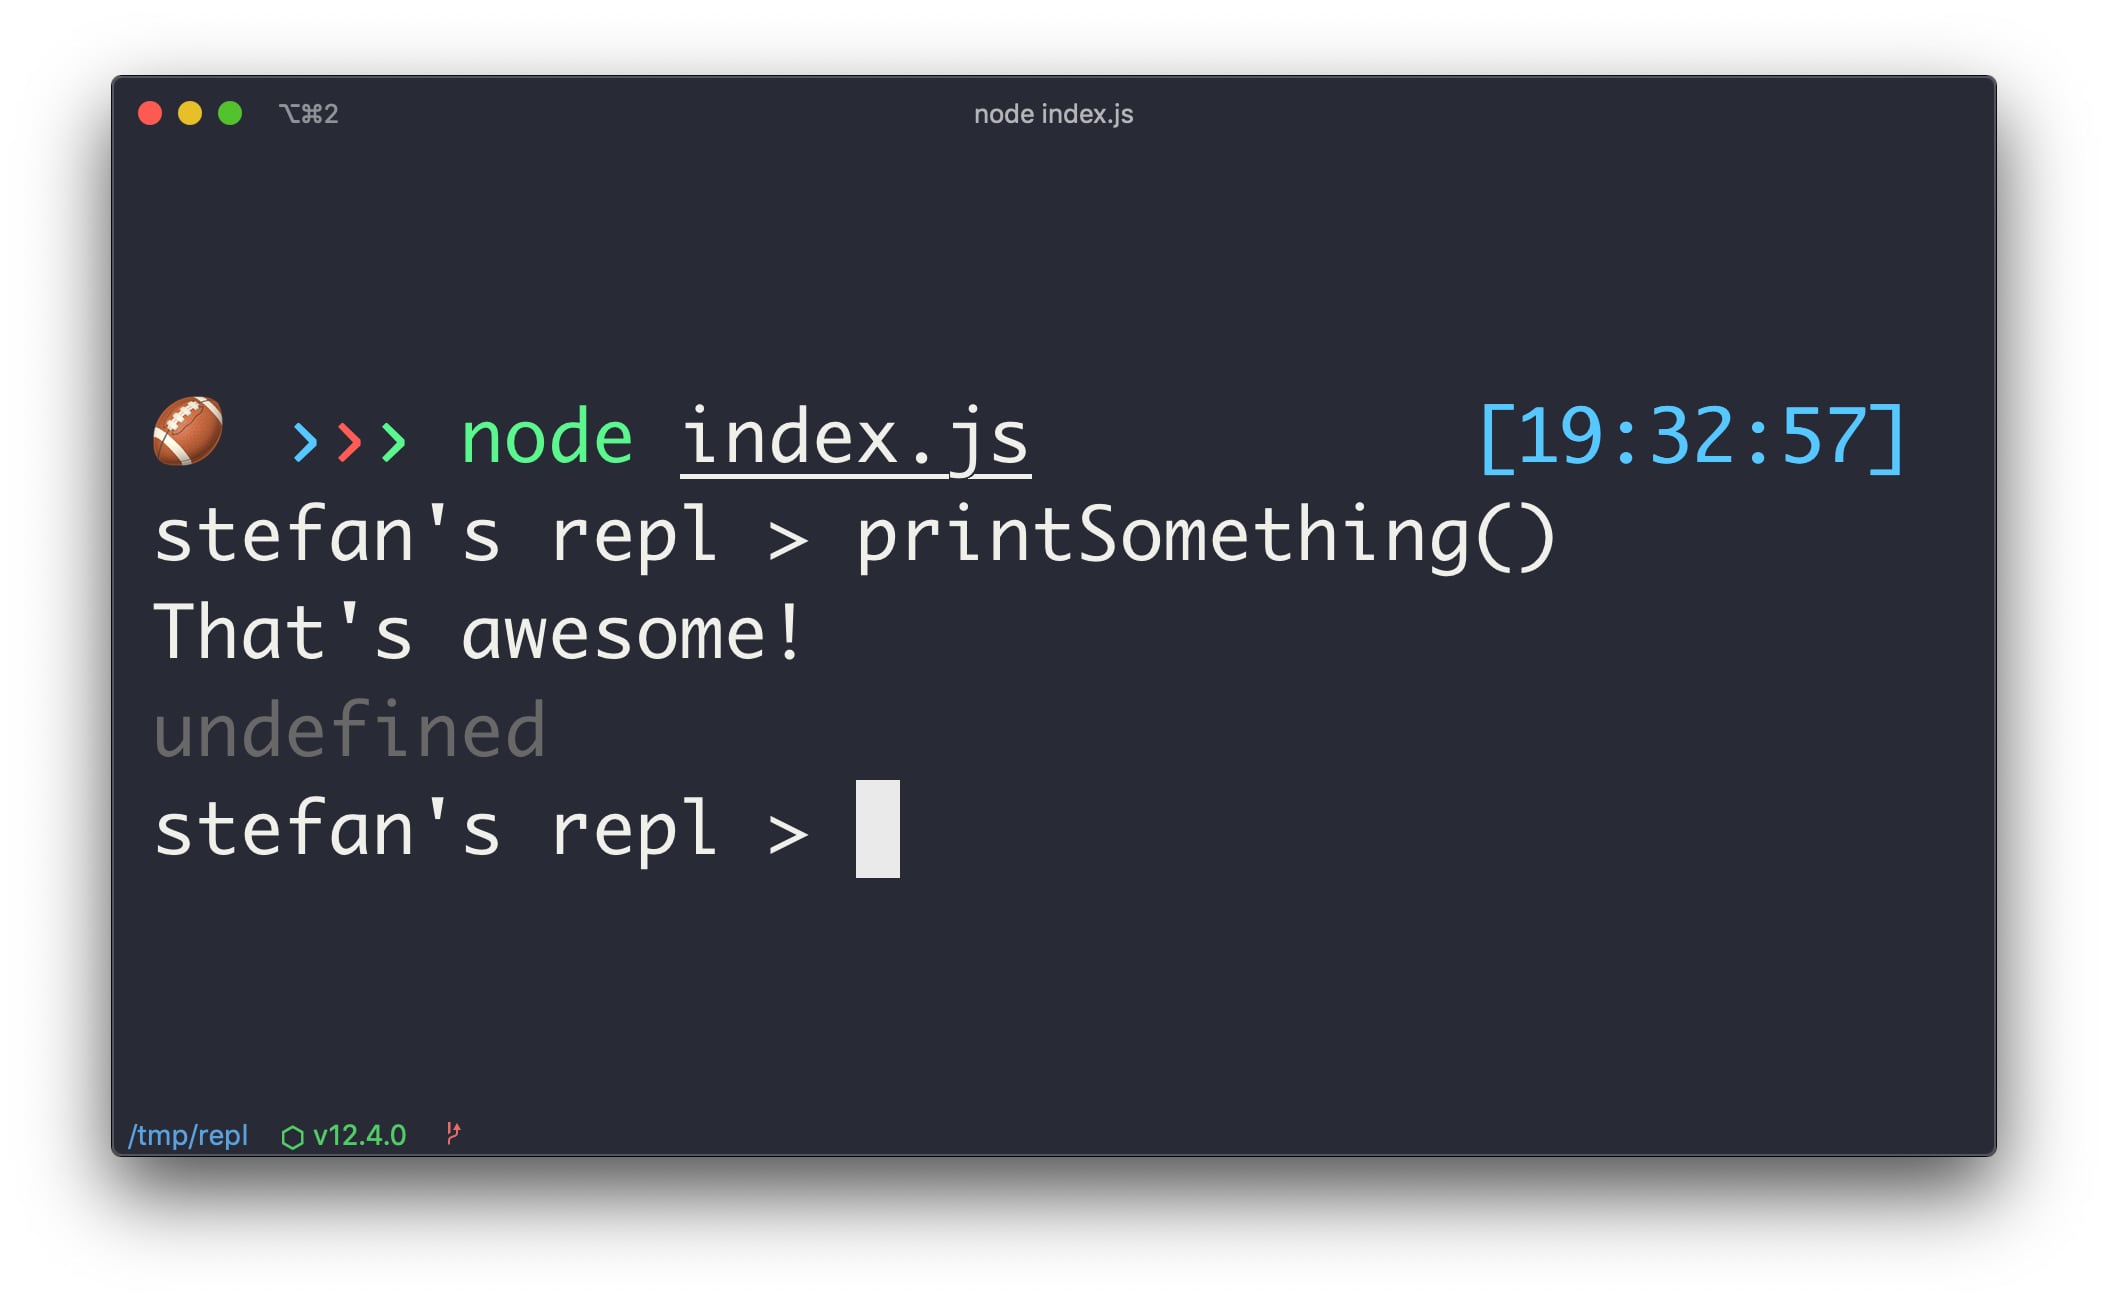
const myRepl = repl.start("stefan's repl > ");
Object.assign(myRepl.context, state);
If you're like me and like to prototype in a console, the repl package is handy. You could create an application entry script that provides all the initialized objects and functionality. Or you could even build a little shell for everyday tasks.
Let me know what REPL's you're building. I'd love to see more examples and real-world use cases. And now, let's "just REPL away"! 🎉

Join 6.5k readers and learn something new every week with Web Weekly.

Frontend nerd with over ten years of experience, freelance dev, "Today I Learned" blogger, conference speaker, and Open Source maintainer.