How to schedule JAMstack deploys with Netlify and GitHub
- Published at
- Updated at
- Reading time
- 3min
One thing that got me excited about the JAMstack movement is the idea of a content mesh. I heard the term first when the Gatsby folks talked about combining multiple data sources into static JAMstack sites, which became one of Gatsby's core strengths.
The idea behind a content mesh is that you use APIs to collect and display third-party-data during build time.
My site runs on Netlify and is currently a content mesh of:
- Buttondown's API to show a newsletter count on the
aboutpage - Feedly to display a blogroll of the RSS feeds that I'm subscribed to
- Contentful to write and render my blog posts
- Netlify Analytics to fetch and render my "popular articles" page
- GitHub to automatically enrich my projects with stargazer data
Honestly, I think that's pretty cool. But suppose you're running a JAMstack site fed by many data sources; when and how do you rebuild the site and refresh the data?
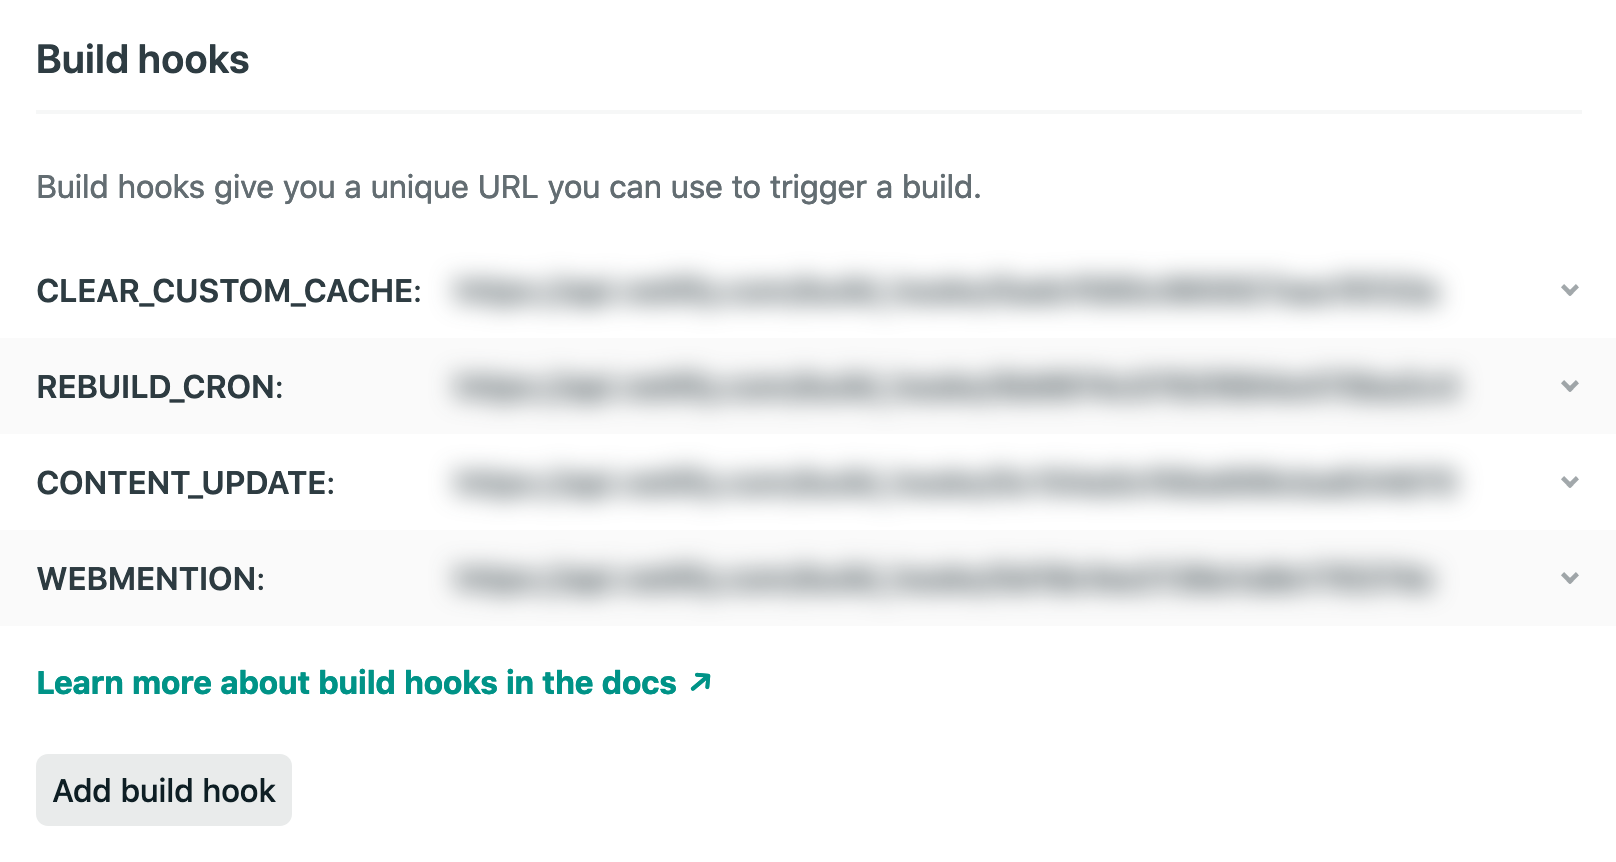
To trigger deploys on Netlify, you can define build hooks. These are HTTP endpoints that will start a new deploy whenever an HTTP request comes in.
I'm currently running with four different hooks starting Netlify builds. To make sure you can analyze what's starting your builds, I recommend defining each build hook depending on its functionality or trigger.
You see that I defined a REBUILD_CRON hook. This URL endpoint is supposed to be called within a time interval – via a cronjob, so to say.
If you wonder how do you set up a cronjob in the cloud, you're not alone. Many people asked for scheduled deploys and cronjobs on Netlify's platform. The recommendation so far has been to use Zapier or another third-party tool.
I never liked this approach because it adds another service dependency to my setup.
But now that we have GitHub actions, and these turned out to be schedulable, I finally found the perfect solution to keep my website data fresh without bringing in another tool.
To dive into GitHub actions, I recommend reading the documentation. If you're only looking for a snippet that works, here's the tl;dr:
- add a workflow file to your repository (
/).github/worfklows/main .yml - paste the snippet below and update it to use your build hook URL
- add, commit and push the new file to GitHub
# /.github/worfklows/main.yml
name: Trigger Netlify Build at Midnight
on:
  schedule:
    # Every day at midnight
    # If you're also puzzled by
    # the cron syntax check
    # -> https://crontab.guru
    - cron: '0 0 * * *'
jobs:
  build:
    name: Netlify Midnight Cron
    runs-on: ubuntu-latest
    steps:
      - name: Curl request
        run: curl -X POST -d {} https://api.netlify.com/build_hooks/xxx
main defines a scheduled GitHub workflow that curls a Netlify build hook URL every midnight.
That's beautiful! And setting up GitHub actions feels like a perfect solution to refresh my site data because it's just another way GitHub interacts with Netlify; I love that!
Yes? Cool! You might want to check out Web Weekly for more snippets. The last edition went out 6 days ago.
Related Topics
Related Articles
- How to use headless Chrome in serverless functions with a 50MB limit
- How to prerender Tweets without using the official Twitter APIs
- How to use a serverless function as image/caching proxy
- How to display the last build date in Eleventy
- Develop, edit & deploy websites entirely in the cloud with the CodeSandbox, Contentful and Netlify trio

